How to Install Wind Turbine Yaw Brake Pads Correctly (Step-by-Step Guide)
Proper installation of wind turbine yaw brake pads is crucial to their performance, service life, and the overall safety of the wind turbine. Incorrect installation can lead to uneven wear, reduced friction, and even turbine downtime. Below is a detailed step-by-step guide to help you install yaw brake pads properly.
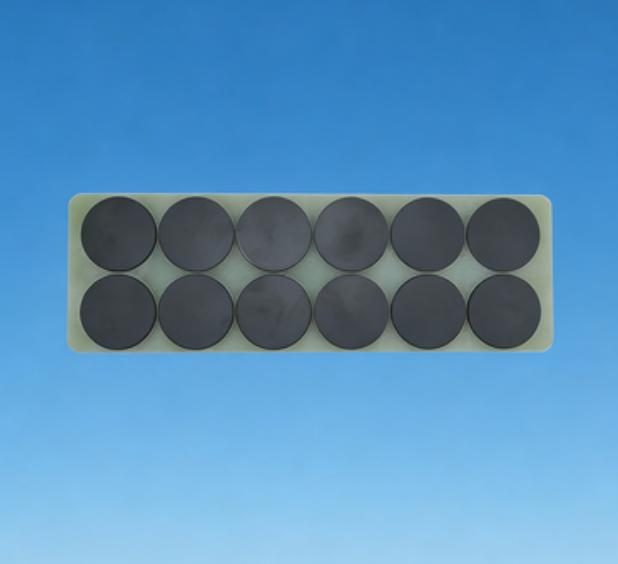
1. Prepare Tools and Materials: Gather the necessary tools (wrenches, screwdrivers, cleaning brushes) and replacement yaw brake pads (ensure they match your turbine model, such as GE104W9334P001 or Gamesa G5X curved yaw brake pads). Also, prepare cleaning agents to remove dust and oil from the brake caliper.
2. Shut Down the Turbine Safely: Before starting installation, shut down the wind turbine and lock the rotor to prevent accidental movement. Ensure the yaw system is in a static state to avoid safety hazards.
3. Remove the Old Brake Pads: Disassemble the yaw brake caliper, carefully take out the old brake pads, and clean the caliper and brake disc with a brush and cleaning agent. Check for any damage to the caliper or disc, such as cracks or uneven wear.
4. Install the New Brake Pads: Place the new sintered or organic yaw brake pads into the caliper, ensuring they fit tightly and align with the brake disc. Make sure the friction material is facing the disc and there is no debris between the pad and the disc.
5. Reassemble and Test: Reinstall the brake caliper, tighten all bolts to the specified torque, and release the rotor lock. Start the turbine and test the yaw system to ensure the brake pads work smoothly without abnormal noise or vibration.
Following these steps will ensure that your yaw brake pads are installed correctly, maximizing their service life and ensuring the safe operation of your wind turbine. Always refer to your turbine’s maintenance manual for model-specific installation instructions.